Orion
Well-Known Member
I'll have to sneak a listen to that if You tube or similar has it. I played a EMS VCS3 back in the 80's, a band I was working with borrowed it from Lene Lovich. I ended up building something similar as we had to return it. Those things can fetch 12 grand now.
It's on Spotify if you have an account.
If not but a family member is already signed up, then for a couple of quid they can upgrade to 'Spotify Premium for Family' and include the account holder and 5 others for access all areas, downloads, sharing etc. Or start an account from scratch.
")


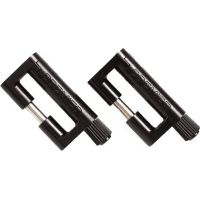
 Tried to introduce an O ring in the gap between stud and swivel but because the gap is tight, it quickly sheared the O ring. I'll take another look.