Do you shoot a Rigby cartridge? Then your country needs YOU! - also, another woodworking blog

Thanks all for the kind words. I don't know what a surge lining is and Google seems unable to educate me, always happy to hear ideas.

I was planning in flocking the tray the knife will sit in and leaving the hidden lower compartment wood (with the brass inlaid so you see it when you lift out the tray). I was thinking of trying to find some local wood shop that has a CNC machine so I could get an piece of wood for the inside of the tray CNC'd with a perfect cut out of the knife - plus a few mm, for it to sit in, may still explore that idea.
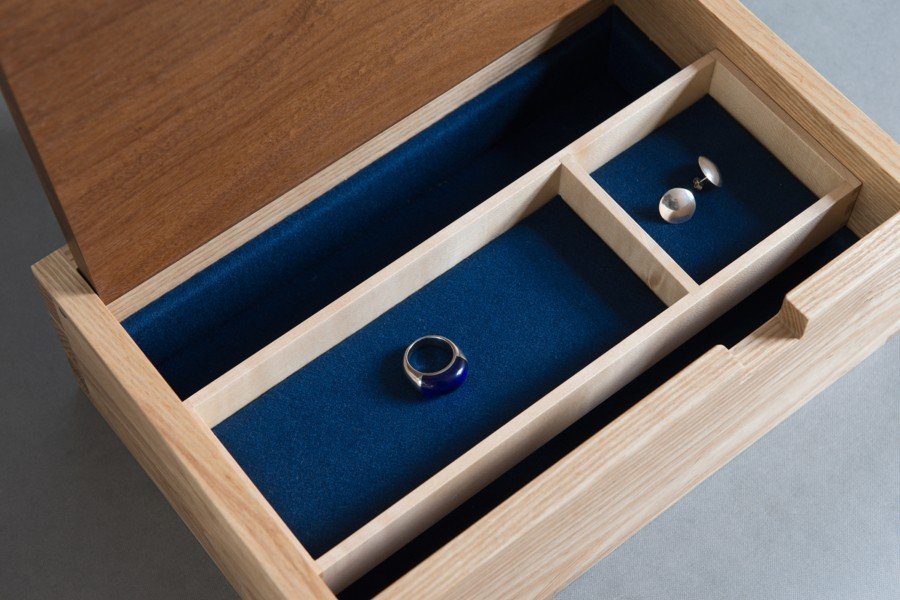
Pat I’d say Harry is thinking of something similar to baize-think snooker table felt. You can buy it online in a range of lovely colours for box making and it’s very luxurious not hugely expensive either. It will make a lovely job of the inside and is what I’d do…mitres won’t matter then!

 
What hinges are you using? If budget stretches (not massive money) the ‘neat elite’ range from a guy called Ian Hawthorne really are superb. Google them and a few places sell them. Twitchy bum time inletting them when everything else is done 🤣 best in the market though i think.
 
What hinges are you using? If budget stretches (not massive money) the ‘neat elite’ range from a guy called Ian Hawthorne really are superb. Google them and a few places sell them. Twitchy bum time inletting them when everything else is done 🤣 best in the market though i think.
Thanks - I am not 100% sure for that very reason. I prefer keeping my boxes all wood, and usually create a friction push fit lid by lining the box with a thin protruding bit of wood, if that makes sense. But I am considering hinges on this one. Mainly because when you start having a lift off lid and lift out trays, you would actually need a lot of counter space to make it a nice thing to use.

It is as you say though - twitchy bum time. I really don't enjoy using power tools late in any build.
 
This is fantastic Pat, what a beautiful gift for your son. I love the pattern you’ve carved into the lid. And the mitres look pretty bloody good! Did you consider a surge liningG


I was lead to believe the original 275 Rigby cartridges were in fact headstamped 7mm Mauser - is this not the case?
I have tried to read your 7x57 build blog with interest and I would really like something similar - but I can't see any of the images here due to some issue I have read about with the hosting company and the UK - I would love to see a couple of pics of what you built if you have a way of posting them
 
Thanks - I am not 100% sure for that very reason. I prefer keeping my boxes all wood, and usually create a friction push fit lid by lining the box with a thin protruding bit of wood, if that makes sense. But I am considering hinges on this one. Mainly because when you start having a lift off lid and lift out trays, you would actually need a lot of counter space to make it a nice thing to use.

It is as you say though - twitchy bum time. I really don't enjoy using power tools late in any build.
Yes I do get what you mean.

With the neat elite hinges you have to climb cut them so you really need to buy the proper spiral cut router bit they recommend (I got one from Wealden) then practice a few times on scraps to set your stops up…I’d recommend a practice with a piece of wood the same as what you are using to see how it reacts to the cutter. They have very good instruction videos online though so easy to follow and setup for.

Alternatively Brusso make very nice hinges and they would be much less scary to cut in. Just a standard butt hinge and hand tools…
 
Pat I’d say Harry is thinking of something similar to baize-think snooker table felt. You can buy it online in a range of lovely colours for box making and it’s very luxurious not hugely expensive either. It will make a lovely job of the inside and is what I’d do…mitres won’t matter then!

Yes, exactly right. Surge is an old school name for felt lining, I think it originates in saddlery. Anyway, think high end shotgun case lining. Would really go with the Rigby theme and as Navarone says - hides as many sins as you want!
I have tried to read your 7x57 build blog with interest and I would really like something similar - but I can't see any of the images here due to some issue I have read about with the hosting company and the UK - I would love to see a couple of pics of what you built if you have a way of posting them
Which one - the FN or the all-but Oberndorf build from scratch? I used imgur as image host, I wasn't aware of UK issues with them. Can anyone else here see the pics? I can upload some of them to SD maybe?
 
Yes, exactly right. Surge is an old school name for felt lining, I think it originates in saddlery. Anyway, think high end shotgun case lining. Would really go with the Rigby theme and as Navarone says - hides as many sins as you want!

Which one - the FN or the all-but Oberndorf build from scratch? I used imgur as image host, I wasn't aware of UK issues with them. Can anyone else here see the pics? I can upload some of them to SD maybe?
Interested in both but yes Imgur no longer works in the UK
 
First time in the workshop in a while this evening. Time to try out inlaying the .275 brass that @webley701 kindly donated. Began by cutting the case head off with an angle grinder and then removing the burs/flattening with a file and some sandpaper.

20251118_173328.webp

I then got my trusty polishing kit out and got it fit for the parade ground

20251118_175629.webp

I then went to drill the hole in the box and realised I do not seem to own a 12mm wood bit that is suitable. I do own auger bits that size but they have a very long centre spike that would go through the base of the box, and my precision bits only go up to 10mm. So I switched tasks for the evening.
 
I then built the internal shelf that the tray will fit on, creating the hidden compartment for the sheath to live in. As I believe I mentioned before, thanks to my earlier mistake the depth really has no wriggle room here at all, and I am going to have to make this tray very thin to get it all to fit. I am a little concerned. I may have to try and think of something creative to solve this later.

Process here was exactly the same as making the box sides, planning the wood square and to thickness (I really want to buy a good planer thicknesser soon - dimensioning lumber is not a task I relish). Then cutting to size, shooting the mitres on the board and creeping up on a tight push fit into the box. Really annoying but no sooner that I had glued this in did I realised I didn't joint one of the edges after it came off the table saw, and one piece is glued in rough side up, when the others are at a silky 2000 ish grit (from the plane blade). Sanding it is place to that level is near impossible.


20251118_184412.webp20251118_183351.webp
20251118_184947.webp
 
Got a few hours in the workshop this afternoon. Tidied up the top of that tray liner as best I could and spent a fair while trying to get the box and lid perfectly flat. It was a bit more frustrating than normal, so I left it about 90% done. I’ll likely have another go at it before fitting the brass hinges and catch, which have now arrived.


Then I got to work on the knife tray: dimensioning, cutting a rebate, cutting to size, shooting mitres. As it’s quite delicate, I did all the cuts by hand with a Japanese pull saw. Initially it was a tight push fit, so I slowly reduced the size via the shooting board—I want it to just drop in, and since wood moves through the seasons, I obviously don’t want it getting stuck in summer. It now has a good 1mm-ish gap around (maybe a bit too much, to be honest). I also made the same mistake again and forgot to tidy up the face edge with a plane, so it had kerf marks and I had to try to sand them out.


The picture below shows it test-fitted in the box. I then went to make the bottom and realised all the 9mm ply I have—which was meant to be the base—is actually 8mm. I’d already cut the rebate to 9mm......I was mildly frustrated. So I decided to come inside, eat, pour a whisky, and contemplate my life choices.

20251129_190453.webp
 

Attachments

  • 20251129_183633.webp
    20251129_183633.webp
    278.5 KB · Views: 7
  • 20251129_154451.webp
    20251129_154451.webp
    330.4 KB · Views: 7
I also went to the local fabric shop earlier today while running some errands to get some baize to line the tray. I got a couple of colours and definitely welcome everyone's opinion on which suits the knife.

20251129_192850.webp
 
Classic but I asked a few friends - 3 to be precise, and got 3 different answers. I am leaning towards green this morning and about to go and cut the tray bottom, so green it is!
 
I’ve seen red, blue & green. My Rigby full length rifle case (c.1937) has an original green lining.
Only going by some of their website shop tat:
😃
K
 
Well, unless I mess it up any further, the deed is done. I had what I thought was a stroke of genius to deal with the fact that the rebate is 9 mm rather than 8. Since the felt is about 1 mm thick, I figured I could glue it on first so the edge would look neat and never have a chance to peel up.


However, once I’d done that and went to dry-fit it, I realised I couldn’t glue the tray up afterwards, because I’d never be able to apply any finish—the felt would inevitably soak some up and look awful. (Also, the plywood I have is definitely not flat, which is annoying.) So I’m pre-finishing it, avoiding the areas I need to glue as best I can.


This is far from ideal, because once it’s built I’ll need to sand again and bevel the outside edge. The tray intentionally sits proud of the main box, and the bevelling is meant to let the lid close nicely. That design choice was mostly forced on me by earlier mistakes that required making it lower overall. In fact, the measurements are now so tight that the leather sheath inside doesn’t actually clear the bottom of the tray support, and the fit relies on the 4 mm gap up to the tray’s rebate.

20251130_162752.webp

20251130_164454.webp
 

Attachments

  • 20251130_103401.webp
    20251130_103401.webp
    271.1 KB · Views: 1
Well, unless I mess it up any further, the deed is done. I had what I thought was a stroke of genius to deal with the fact that the rebate is 9 mm rather than 8. Since the felt is about 1 mm thick, I figured I could glue it on first so the edge would look neat and never have a chance to peel up.


However, once I’d done that and went to dry-fit it, I realised I couldn’t glue the tray up afterwards, because I’d never be able to apply any finish—the felt would inevitably soak some up and look awful. (Also, the plywood I have is definitely not flat, which is annoying.) So I’m pre-finishing it, avoiding the areas I need to glue as best I can.


This is far from ideal, because once it’s built I’ll need to sand again and bevel the outside edge. The tray intentionally sits proud of the main box, and the bevelling is meant to let the lid close nicely. That design choice was mostly forced on me by earlier mistakes that required making it lower overall. In fact, the measurements are now so tight that the leather sheath inside doesn’t actually clear the bottom of the tray support, and the fit relies on the 4 mm gap up to the tray’s rebate.

View attachment 449310

View attachment 449311
Nice work. With regard to felt colour I believe you've chosen wisely.
😉
K
 
Back
Top