On Reflection
Will I build Another?
Absolutely. I would do things differently. This little gun was probably beyond “economic repair” and would have gone in the sealed bid auction as parts. So I took the view that it was a learning project and if I completely cocked it up, then the bits would make nice ornaments, desk toys or knife handles.
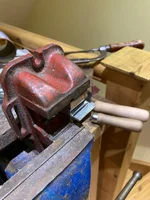
There is still lots to fettle. Firing pin probably needs to be bushed as a disk set striker, but that’s a job requiring a good lathe or mill which I don’t have.
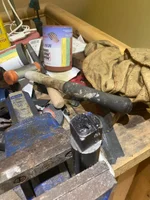
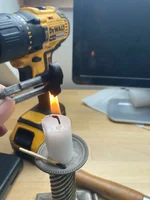
Silver Steel - I wish I had known about this stuff much earlier in the process. It’s primary steel that has magical properties. With sharp files, a blow torch, a turning device and a sharpie pen and measuring device you can make anything.
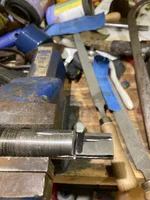
Chuck a piece in the drill, clamp the drill in the vice, sharp and in 20 minutes an hour later you have a hand pin, firing pin or the blank for a reamer. Careful filling allows you to cut teeth.
Heat it to a cherry red and plunge it into rapeseed oil and it goes extremely hard. You can sharpen it with a grinding stone, but it will cut steel easily. Heating it again and learning to read the colours or using different types of oil till they flash and burn (different oils and fats have different flash points) allows you to reduce the hardness but improve the toughness. This is a very key skill to learn. And i wish I had had these before I started. But I didn’t know or appreciate that I needed them.
You can make parts for gun, make tools to make other parts, make tools to take them apart and put back together etc etc. It’s the way things were done. Yes it takes a bit of time, but by the time you have hunted through the inter webulator or searched in vain shops you have made a tool and done the job.
A lathe would be nice to have. But I don’t really have room for one.
Thread cutting is a skill I need to learn. Old guns have many different threads. Smiths made their own screws on the own lathes, which were probably made by hand initially so threads of one smith will be different to others. Lathes and mills allow repeat jobs to be done more quickly, but you have all the set up time.
I have really learned the power of a file. I am in no ways an expert yet. But if you take your time you get more accurate.
But truth be told I have probably completed the first couple of weeks or perhaps a month as an apprentice.
Now off to the range.


")


 the site staff were all hovering like bees waiting for her to leave


