7x57 Oberndorf style build

@csl post 65

I really wouldn’t worry about the journey of time. It’s your rifle and you need to be in the right frame of mind when doing the work. Besides Hollands, Purdey Westley Richatds etc will all quote 3years.

Next time start with an unshaped blank. You then have the joy of carving out the shape. It’s truly satisfying and exciting watching it come out a solid block of walnut.

Actioning is just time consuming and fidly.

Sraight grain is strong- its what in a gun. Burl Walnut is for dashboards in Jaguars. And it breaks sooner or later.
Totally agree, and I do want to make my own stock at some point. I probably should keep my eye open for a blank.

In the meantime, I’m loving this rear sight - the NOS ladder is the one genuine Oberndorf part in the build
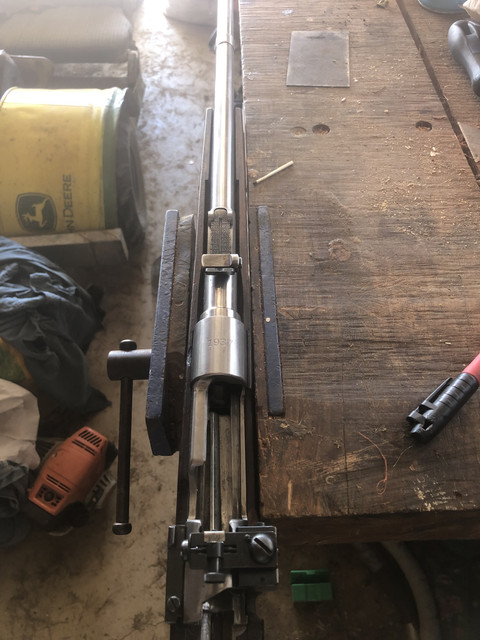
IMG-8186.jpg


IMG-8188.jpg
 
@csl post 66

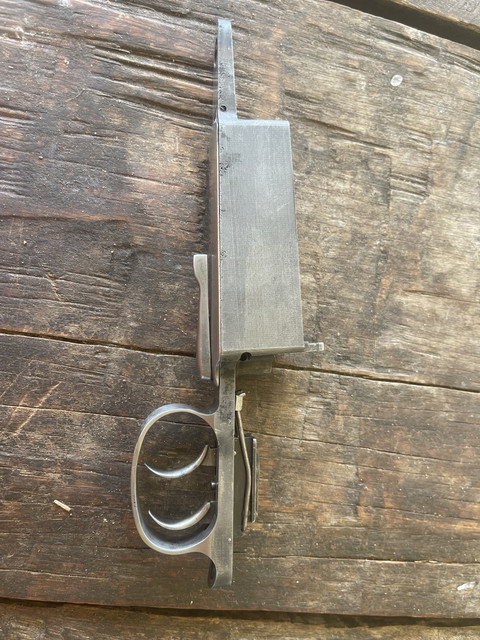
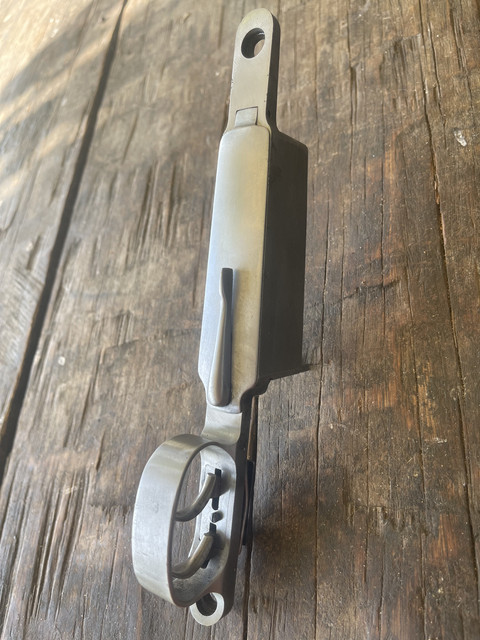
Spent a bit of time on the bottom metal:
Hogged the lanyard (or whatever it is) hole out.

IMG-7603.jpg


Cut the hinge out
IMG-8798.jpg


Formed it out of key stock
IMG-8803.jpg


MIG’d it
IMG-8815.jpg


Inlet the DST
IMG-8717.jpg


IMG-8764.jpg


Filled lock screw holes
IMG-8778.jpg


IMG-8777.jpg


Cleaned up ok
IMG-8891.jpg


IMG-8893.jpg


Just waiting for another sear to replace the bubba’d one so I can start on the Dunlop style double lobed kicker
 
@csl post 75

Have loved reading this thread! @harrygrey382 where have you got to with it?
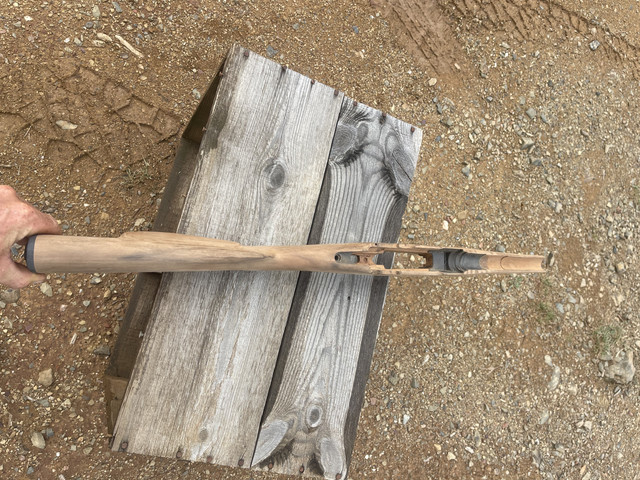
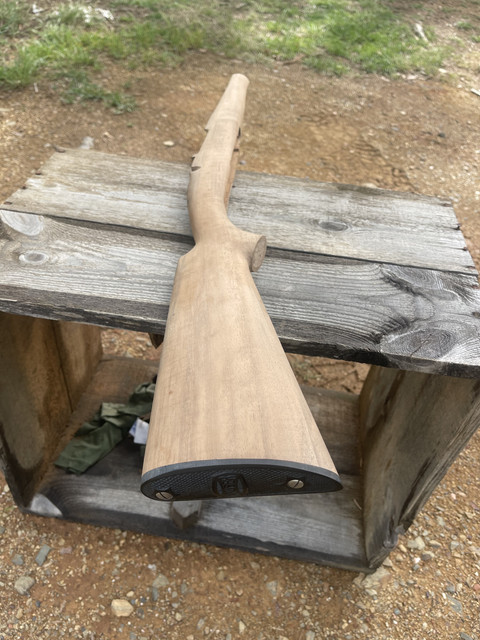
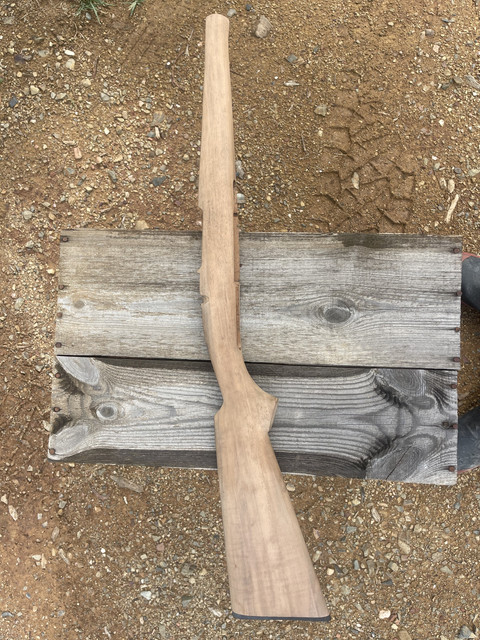
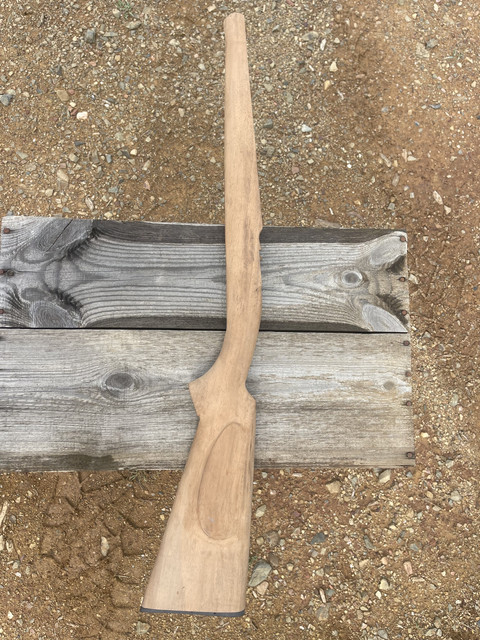
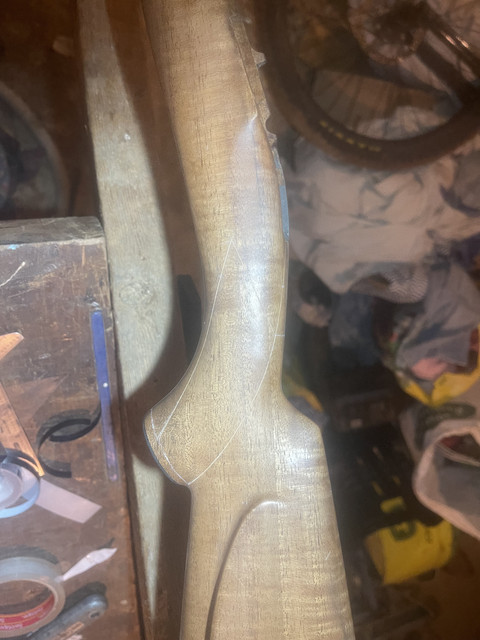
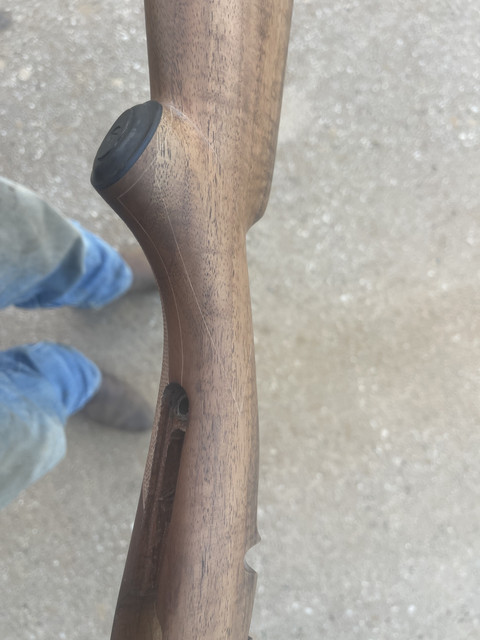
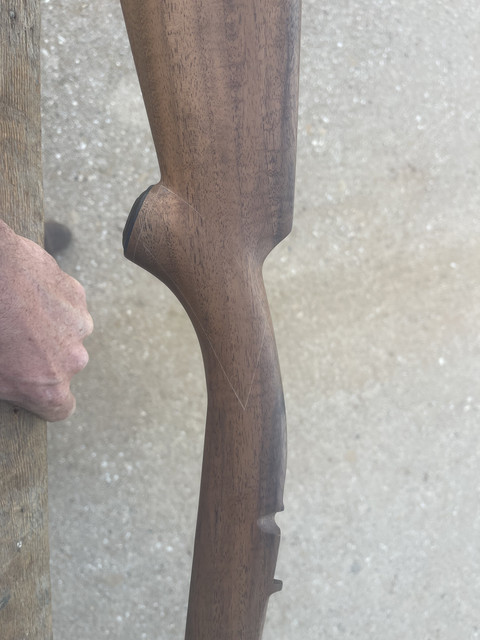
Thanks mate. Nothing ground breaking to report I’m afraid - being side tracked by a batch of knives. With the metal work finished (apart from polishing the reprofiled tang) I’m now on the stock. Pretty much finished shaping it - I think I’m happy with the shape of the schnabel, after studying many different rifles they seem to vary massively in shape between different examples of Type B. Many specific detailed photos were kindly provided by @robinpeck to get some of the details right.

Butt plate fitted and I’m just about to fit the grip cap then will finish sanding

IMG-0670.jpg


IMG-0668.jpg


IMG-0669.jpg


IMG-0671.jpg
 
@ csl post 76

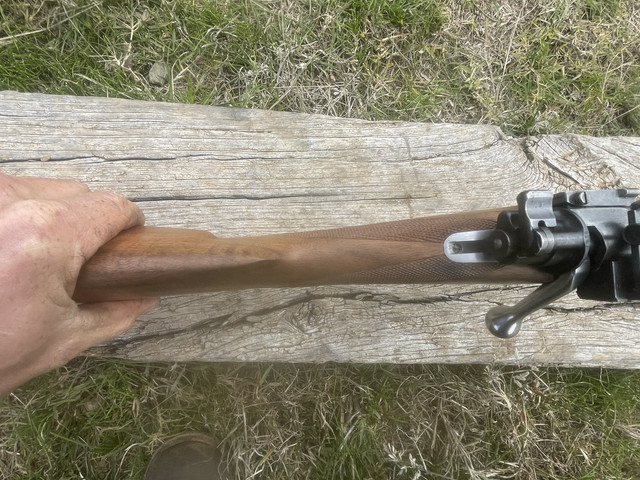
Stock done. Dray sanded to 320g, two thin sealing coats of pure tung oil to gum turps very thinned. Then wet sanded with a slightly less thinned mix to 400g then 600g (three weeks between each successive coat) to fill pores - this worked beautifully. Then dry sanded to 1000g, then 10 coats of thinned tung oil. Then 4 weeks wait and buffed with hessian. Gave the most lucious silky satin finish.

Then I checkered it. I reckon I got the layout fairly close, obviously I deviated by not putting a border in but I prefer this a more minimalist/pure approach which is also in keeping with the general aesthetics of a Type B. I’m reasonably happy with the job - it’s not perfect but I was never under the impression this was going to be a flawless build. I could’ve done more practice stocks but I’d like to keep this project moving and the end is now in sight! Just got to tidy up a few minor metal work cosmetics then it’s time for bluing…

IMG-1884.jpg


IMG-1929.jpg


IMG-1928.jpg


IMG-1930.jpg


IMG-2064.jpg


IMG-2063.jpg


IMG-2062.jpg
 
@csl post 100

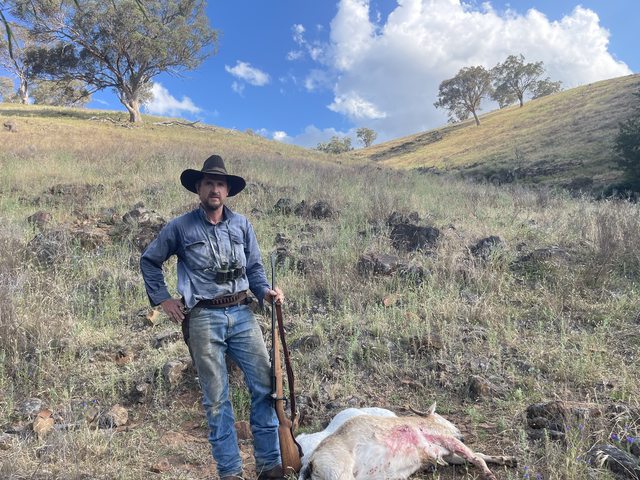
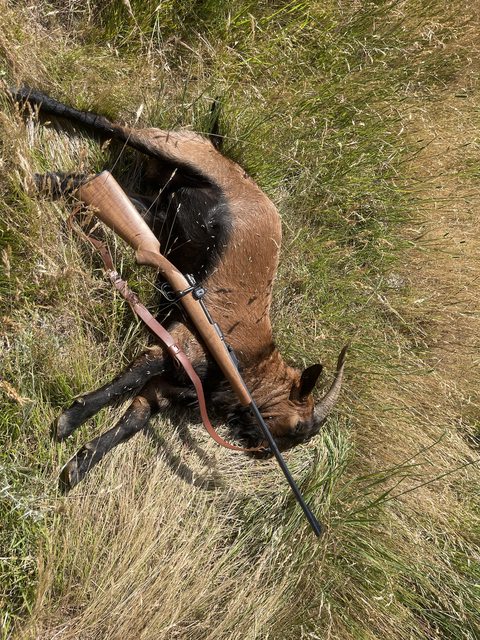
Went out after some goats this arv, got these three. First was offhand at 30m, the other two off a log at 80m. Also shot a roo at 140m. Needless to say the 154gr RN did the job efficiently. Loving the double set triggers

IMG-7610.jpg


IMG-7609.jpg
 
OK that should be all the photos back up. But going through them I noticed I missed a couple of steps which I'm putting in for completeness sake...

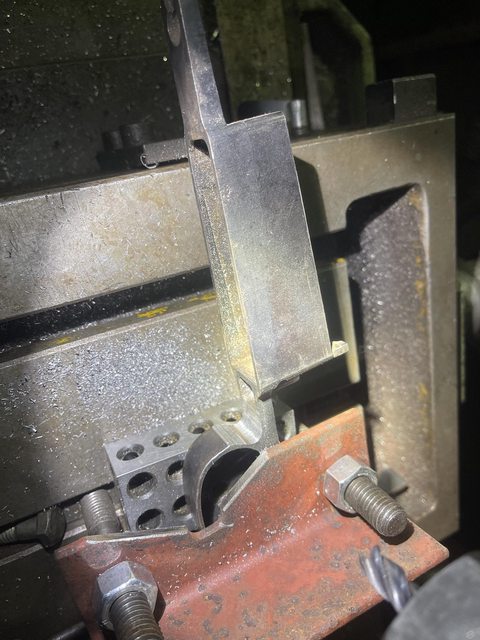
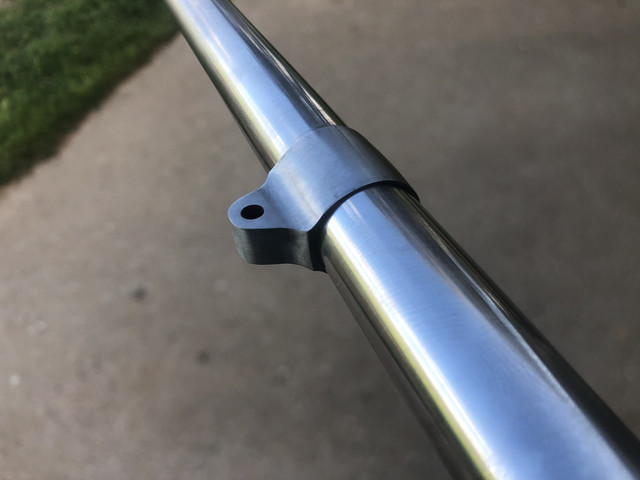
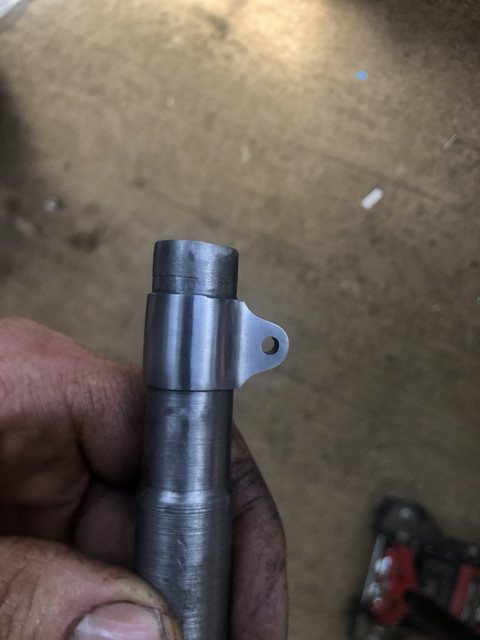
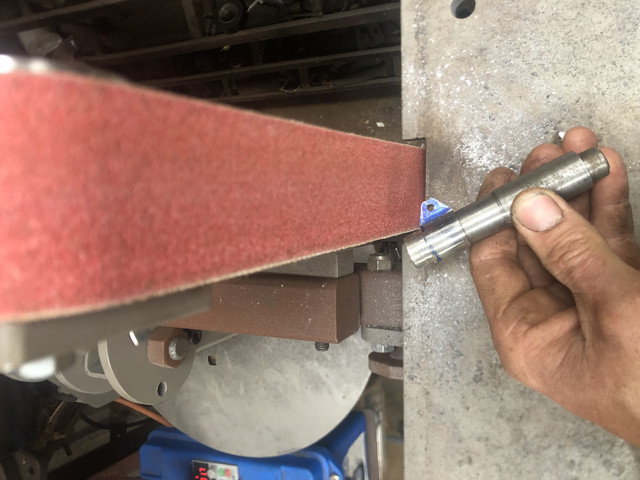
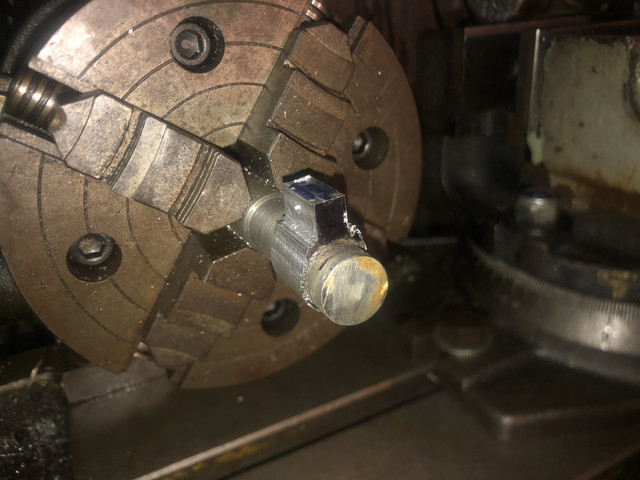
The making of the barrel band sling mount - made a stub with the same taper as the barrel to hold it. Used a piece of mild, taper bored then put in a chuck on a rotary table. Final shaping done on a 2x72 belt grinder

IMG-7743.jpg


IMG-7738.jpg


IMG-7733.jpg


IMG-7715.jpg


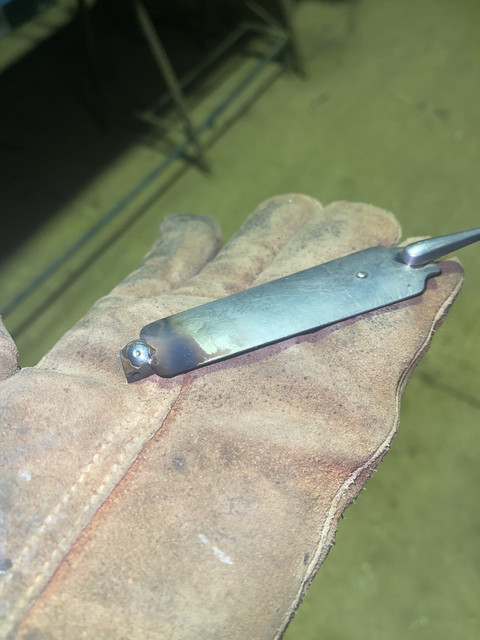
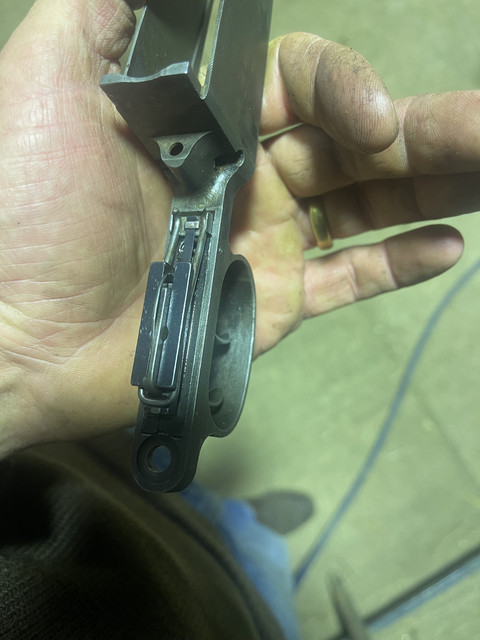
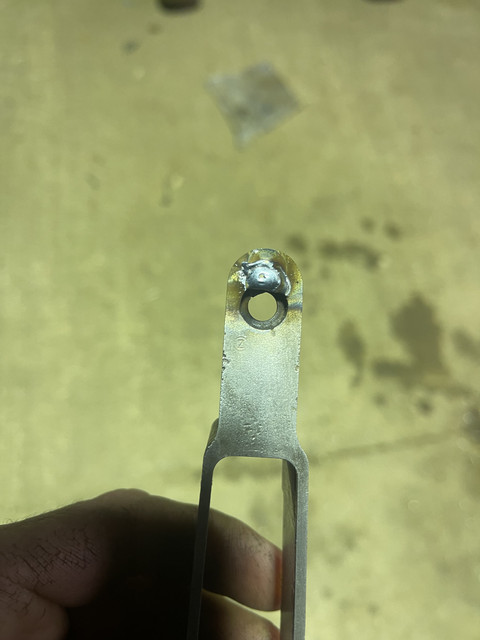
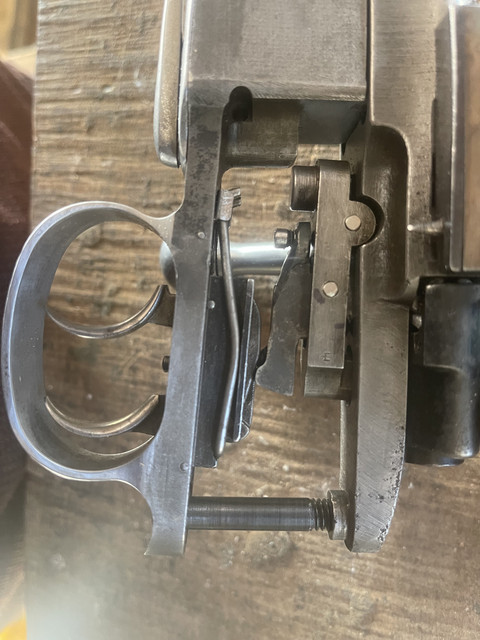
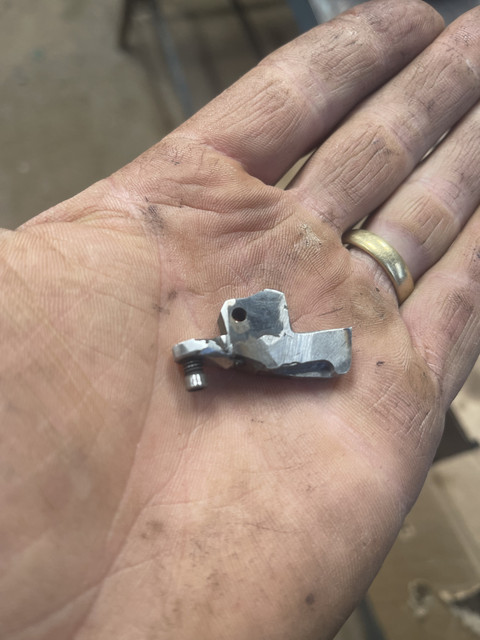
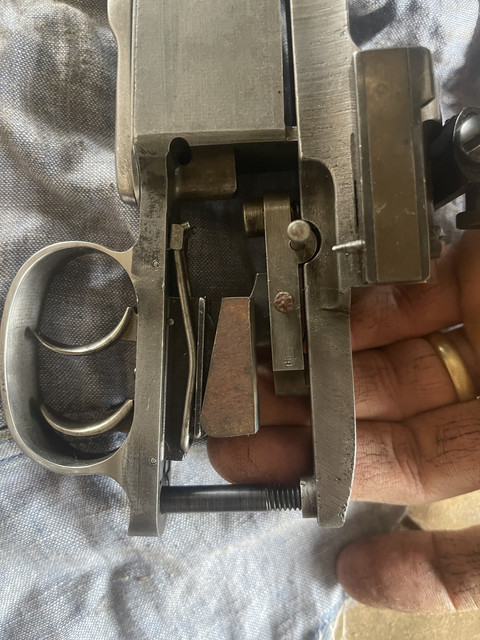
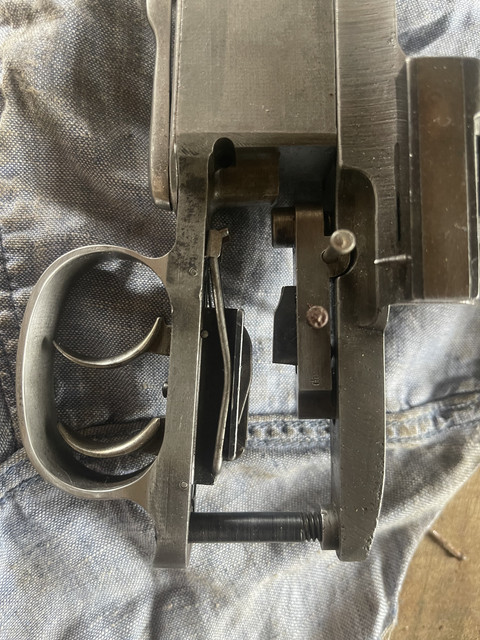
Then the DST. As I only had the bottom half I had to form the lobes. Followed some directions in the Roy Dunlop book and made the lobes from 1040 and welded it to the top half of a single stage trigger bough. Also added a front protrusion adjustment screw. Once they were formed, polished and hardened with it operating nicely I found the unset pull was horrible - like 7lbs. So back to the drawing board and I cut the bough out and replaced the pivot point with a ceramic ball bearing. Pull turned to a crisp 3lb unset. Set it's a hair. Also had to remove the slop from the bolt shroud to keep the sear protrusion constant by building the underside up and filing back until there was just some clearance

IMG-9659.jpg


IMG-9662.jpg


IMG-9489.jpg


IMG-9201.jpg


IMG-9200.jpg


IMG-9081.jpg
 
Back
Top